
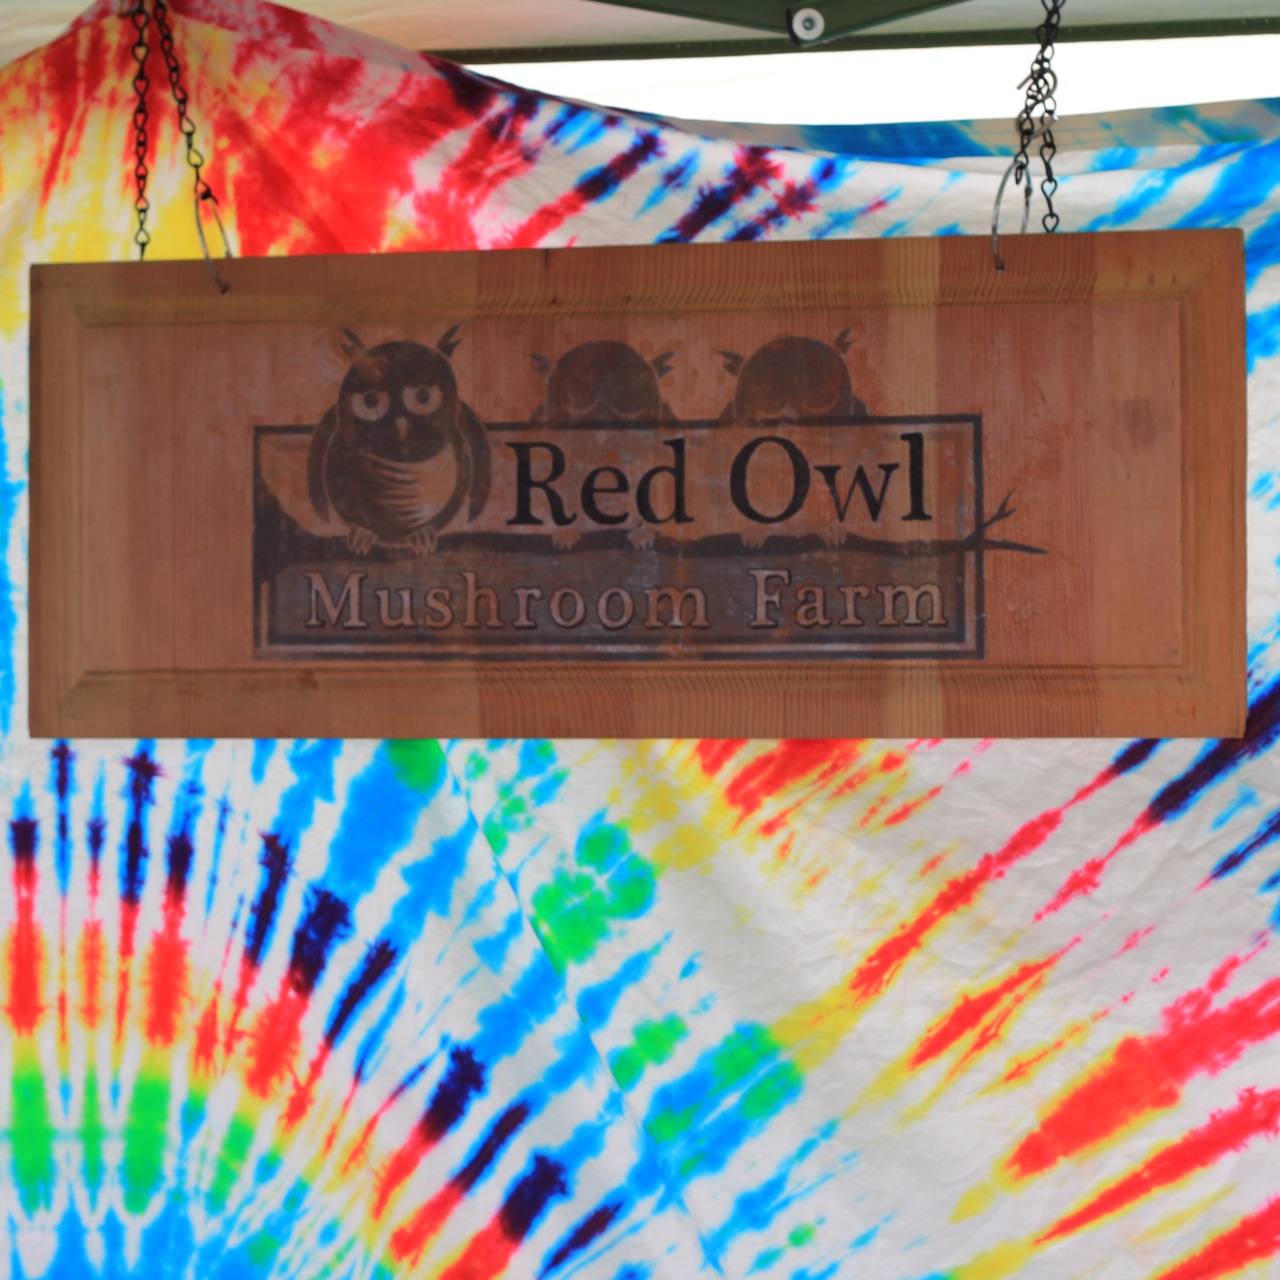
When we started selling at the farmers markets about a month ago, we realized that having a backdrop of some sort was going to be a necessity if we wanted to keep up with the Jones's. Everyone's booths were so lovely with their custom signs and coordinated themes. We are on a serious budget, and we love to craft, so obviously we decided to make something ourselves. We'd been eying a tie-dye kit from Michael's for awhile, talking about making t-shirts as gifts or messing around with dying our sheets, and we decided that a bright tie-dyed background would be just the eye-catching thing we needed for our booth.
We took the plunge and purchased the Jacquard Funky Groovy Tie-Dye Kit for about $10 (with the 20% off Michael's coupon readily found online). There are several other brands, but we chose this one because it comes with a soda ash solution that preps the material to accept dye. This means that your tie-dye will be brighter and won't bleed in the laundry. One important thing to note is that the fabric to be dyed needs to be 100% natural fibers - cotton, hemp, linen, etc. So our next challenge came in finding a large sheet at Goodwill that was 100% natural (and still had its tag so that we'd know). After unfolding and refolding about 20 flat sheets, we finally found one that would work. The directions in the tie-dye kit are detailed and easy to follow. The steps consist of dissolving the soda ash in a bucket of warm water, soaking the material for 20 minutes, rinsing it and laying it out on a large plastic tarp (we used a large blue camping tarp) and commencing to dye.
(Click through for more!)
We used a combination of methods from this video and this one to create a spiral design. In short, we laid the wet sheet out on the plastic, grabbed the center and twisted it while gracefully (ha!) scampering around to try and avoid kneeling on the part that was being twisted, secured it with yarn that also divided it into 6 wedge-shaped pieces, then applied the die in color-wheel order (blue, green, yellow, orange, red, purple). This was accomplished by applying blue to three of the segments, then yellow to three and red to three, overlapping to create the green, orange and purple and repeating on the other side. We wrapped the bundle in a garbage bag, twiddled our thumbs for 24 hours, then rinsed out in the tub. It was beautiful! We'd done it!


Another fun note: We ended up cutting the sheet down to make a manageable booth backdrop, and I used the scraps to make us tie-dye aprons for the markets. I'm going to make a headband for my niece out of the scraps as well, and stay tuned for a tutorial on headbands soon to come!
Happy tie-dying!
No comments:
Post a Comment